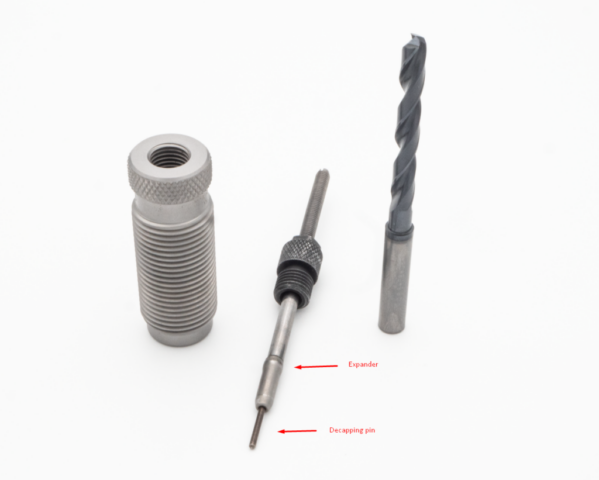
I’m often using a combination between body die and separate neck sizing die for my rifle cases, more precisely Lee Collet dies.
The reason is that I like collet sizing, which is less stress on the brass neck and at the same time I want the case body to be always on the specs and to avoid resistance when operating with the rifle bolt.
I have only Redding body dies and I’m not sure if any other popular manufacturer offers such, but I couldn’t find even Redding one, I guess.. still related to the supply shortage last year(s).
So I decided to create one myself – from a full length sizing die.
The goal was simple – to avoid any changes on the case neck when sizing.
However, simply removing the expander rod is not enough, because the way this die function is:
– on the stroke up it enters the expander inside the case and the die is reducing the neck diameter less than the specs
– on the stroke down the expander basically “expand” the case neck to the spec size
So if I remove the expander only, after one full stroke I have a resized body and over-reduced neck size.
And to avoid that, I needed to drill the body neck part to the outside diameter of a fired case.
In this particular example I was doing it for .223 Remington. After measuring some fired cases from my AR rifle, it showed ~6.50mm.
So I needed a 6.5mm drill to match this.
Now… reloading dies are made from hardened steel and I found out the hard way it’s too damn strong. 🙂
So using a standard HSS Bosch drill didn’t work at all. Not only it didn’t make it through, but also the drill went in the trash.
The solution is to get a simply harder drill, in my case I used a 6.5mm solid carbide drill with some additional coating.
I put it on the lathe and it just went through the die like nothing. 🙂
The first test went great and finally I got the result I wanted.
But not for the cost I wanted as the carbide drill costs ~same as a body die. 😀
